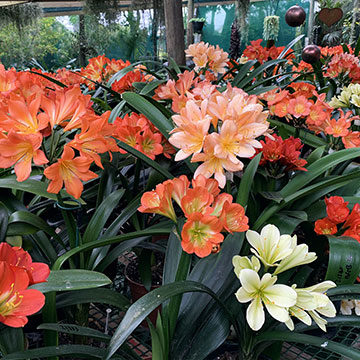
From Berry to Bloom: Growing Clivias from Seed
Growing Clivias from seed is a rewarding process that requires patience, care, and the right timing. With a little effort, you can nurture beautiful new plants from pollinated berries collected right in your own garden.
1. When and How to Harvest Clivia Berries
After flowering, properly pollinated Clivias begin forming berries. These stay green for several months—often up to a year—before ripening. You’ll know they’re ready to harvest when they soften under gentle pressure and begin to colour (shades can vary from yellow to deep red).
Harvesting: Simply pick berries from the plant or cut the stem. If cutting, dust the wound with fungicide or Flowers of Sulphur.
Drying: Let berries dry for 5–7 days in a shaded, well-ventilated area for easier cleaning.
Labeling: Always keep harvested berries labelled and separated by colour or parent plant to maintain accurate records.
2. Cleaning and Preparing Clivia Seeds
Remove the outer skin, pulp, and membrane from each seed.
Rinse seeds in diluted dishwashing liquid (like Sunlight) to remove residue.
Pat dry with paper towel, then dust lightly with a contact fungicide.
Store in a ventilated container until ready to germinate.
3. Germinating Clivia Seeds
You can start germination right after harvesting or wait for warmer temperatures in spring.
Place seeds between damp paper towels or on top of moist peat moss or sterilised sand in a container.
Keep the container in a warm, shaded spot. A heated germinator can speed things up.
Once leaves reach 5–10 cm, transplant seedlings into shaded seed trays. Keep soil moist but never soggy.
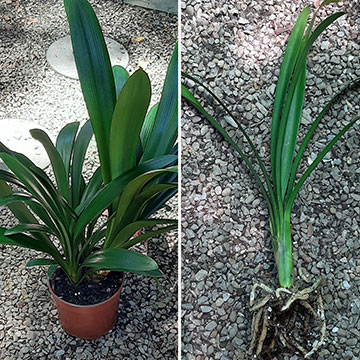
4. Planting Out Clivia Seedlings
At about 12 months old, transplant seedlings into individual 10–12 cm pots.
Potting mix: A blend of milled pine bark, filter sand, and ecoT (beneficial fungi) is ideal.
Keep the young plants in dappled shade and water regularly without overwatering.
5. Potting-On as Clivias Mature
At 2 years: Move plants into 17.5 cm pots. Add drainage at the base (crushed stone, brick, or polystyrene).
At 3 years: Pot up again into 20 cm containers. Water before transplanting to reduce root disturbance.
Final Tip:
Clivias are slow growers, but the results are worth the wait. With care and consistency, you’ll be rewarded with strong, healthy plants ready to flower in a few years' time.