How to divide your Clivia
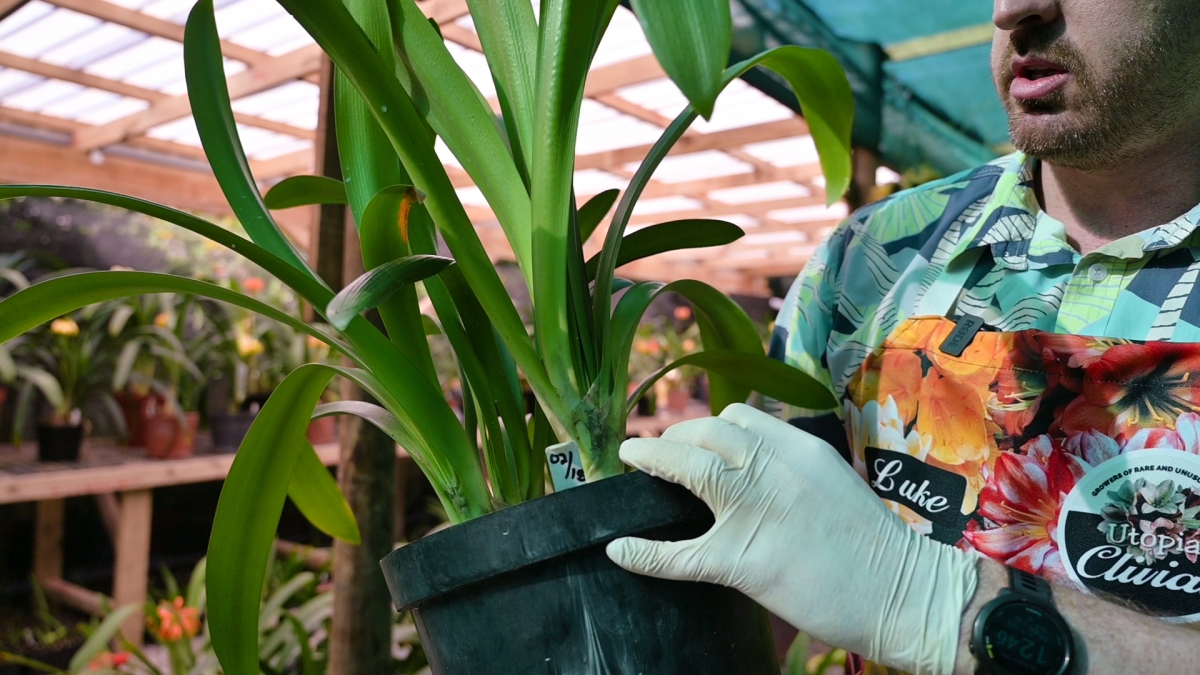
1. Remove the Plant from Its Pot
Start by gently tipping the plant out of its pot. If it’s tightly packed, don’t force it — give the pot a few firm taps or roll it gently on its side to loosen things up.
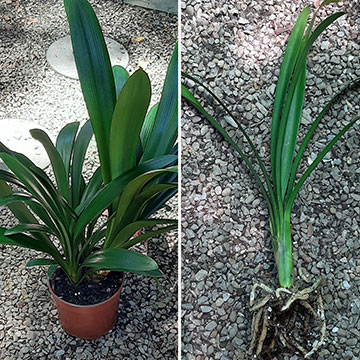
2. Tease Apart the Roots
Once out, brush or shake off as much old soil as you can. Look for the natural points where offsets are attached. A mature offset should have at least three or four leaves and its own roots before you remove it.
3. Separate the Offsets
Use your hands to ease the pups away from the mother plant. If they’re stubborn or tightly attached, carefully use a sterile knife to cut them free. Try to keep the roots intact as much as possible.
4. Clean and Trim
Snip away any dead or damaged roots. If you had to make a cut through thick rhizome tissue, allow that wound to air-dry for a few hours or overnight to reduce the risk of rot.
5. Repot Each Division
Plant each offset into its own small pot, just large enough to hold the roots comfortably. Set it so the crown (where the leaves meet the roots) sits just above the soil surface. Water lightly to settle the soil.
6. Post-Division Care
Place your newly potted clivias somewhere bright but out of direct sun. Don’t overwater — let the soil dry out slightly between watering until you see signs of new growth. Hold off on fertilizing for the first few weeks.
A Few Extra Tips
Only divide clivias every 3 to 5 years, or when they’re truly overcrowded.
Don’t be in a rush — clivias grow slowly, and divisions may take a year or two before they flower again.
Use breathable,loose soil and pots with good drainage to avoid root rot.